
How to Bloom Coffee Grounds Correctly for Fuller Flavor

To bloom coffee grounds correctly, pour water at 195°F–205°F (90°C–96°C) equal to 2–3× the dry coffee weight over your grounds, then pause for 30–45 seconds before your main pour. That’s the industry-standard method for manual pour-over, and it works every time you follow it precisely.
Here’s a quick example you can use right now: brewing with a moderate amount of coffee? Pour roughly twice to three times that weight in hot water over the grounds, start your timer, and wait. You’ll see the bed swell and bubbles rise to the surface. That’s CO₂ escaping, and it’s exactly what you want.
- Water temp: 195°F–205°F (90°C–96°C)
- Bloom water: 2–3× the coffee weight (15 g coffee → 30–45 g water)
- Pause: 30–45 seconds before the main pour
- Goal: release trapped CO₂ and wet the bed evenly
Table of Contents
- Why blooming coffee grounds matters for your cup
- What tools you actually need to bloom consistently
- How to bloom step by step for pour-over
- How to adapt the bloom for other brewing methods
- How to diagnose and fix common bloom problems
- How to use the bloom as a freshness test at home
- Quick-reference bloom chart
- Key Takeaways
- Why the bloom is really about what’s in the bag
- Fresh beans make the bloom work harder for you
Why blooming coffee grounds matters for your cup
The bloom does two things at once: it releases CO₂ from the grounds and ensures every particle gets wet before the main pour begins. Both matter more than most people realize.
When you skip the bloom, trapped CO₂ actively pushes back against incoming water. Gas pockets form in the coffee bed, water channels around them, and you end up with uneven extraction. The result is a cup that tastes hollow, flat, or sharply acidic — not because the beans are bad, but because the water never reached all of them. Blind tasting tests consistently show that bloomed pour-overs taste richer, rounder, and fuller compared to non-bloomed brews.
The bloom also tells you something useful about your beans. Vigorous bubbling and a visible dome mean your coffee is fresh, typically within 2–4 weeks of the roast date. A flat or sluggish bloom usually means the beans have already off-gassed most of their CO₂, which signals older coffee. Checking your roast date before you brew takes two seconds and saves you from a disappointing cup.
What tools you actually need to bloom consistently
You don’t need much, but the right tools make a real difference in repeatability.
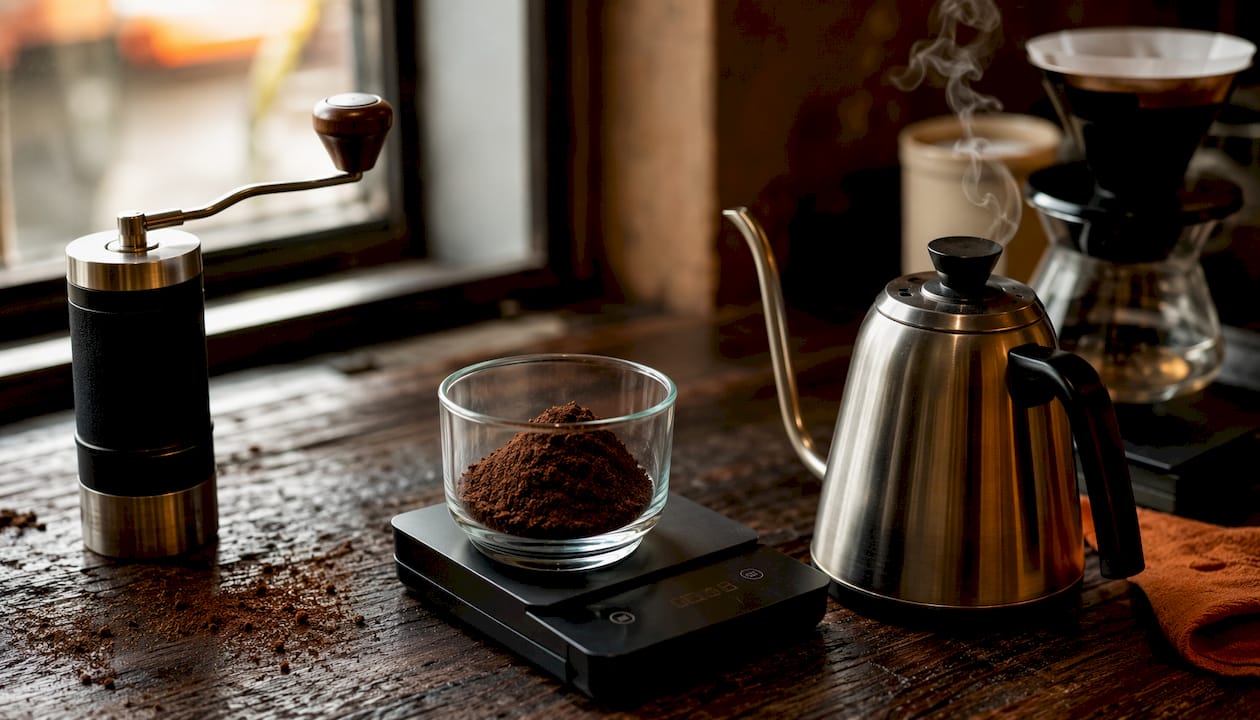
A kitchen scale is the single most useful piece of equipment here. Measuring bloom water by weight (grams) instead of eyeballing it gives you a consistent, repeatable result every time. A gooseneck kettle lets you pour in a slow, controlled spiral rather than dumping water unevenly over the bed. Pair it with a kettle that has a temperature setting or a simple thermometer, and you’ll hit 195°F–205°F without guessing. A timer, even your phone, keeps your 30–45 second pause honest.
Grind size affects bloom behavior directly. For pour-over, a medium-fine grind is the standard starting point. Finer grinds create more surface area and release CO₂ faster, so the bloom looks more vigorous but finishes quickly. Coarser grinds bloom more slowly and may need a few extra seconds to fully degas. If your bloom drains through the filter almost immediately, your grind is likely too coarse. Grinding whole beans right before brewing also preserves CO₂, which means a more active bloom.
One more step worth doing: rinse your paper filter with hot water before adding grounds. It removes any papery taste and preheats the dripper, which helps maintain temperature stability during the bloom.
How to bloom step by step for pour-over
Follow this sequence at your brew station and you’ll get a consistent bloom every time.
- Rinse the filter. Pour hot water through the paper filter to remove papery taste and preheat the dripper. Discard that water.
- Add your grounds and level the bed. Pour in your ground coffee and give the dripper a gentle shake to create an even, flat surface.
- Start your timer and pour the bloom water. Begin at the center of the bed and pour in a slow spiral outward. Use 2–3× the coffee weight in water — see the table below for exact amounts.
- Watch for full saturation. Every part of the bed should look wet. No dry patches. You’ll see the grounds swell and bubbles form on the surface.
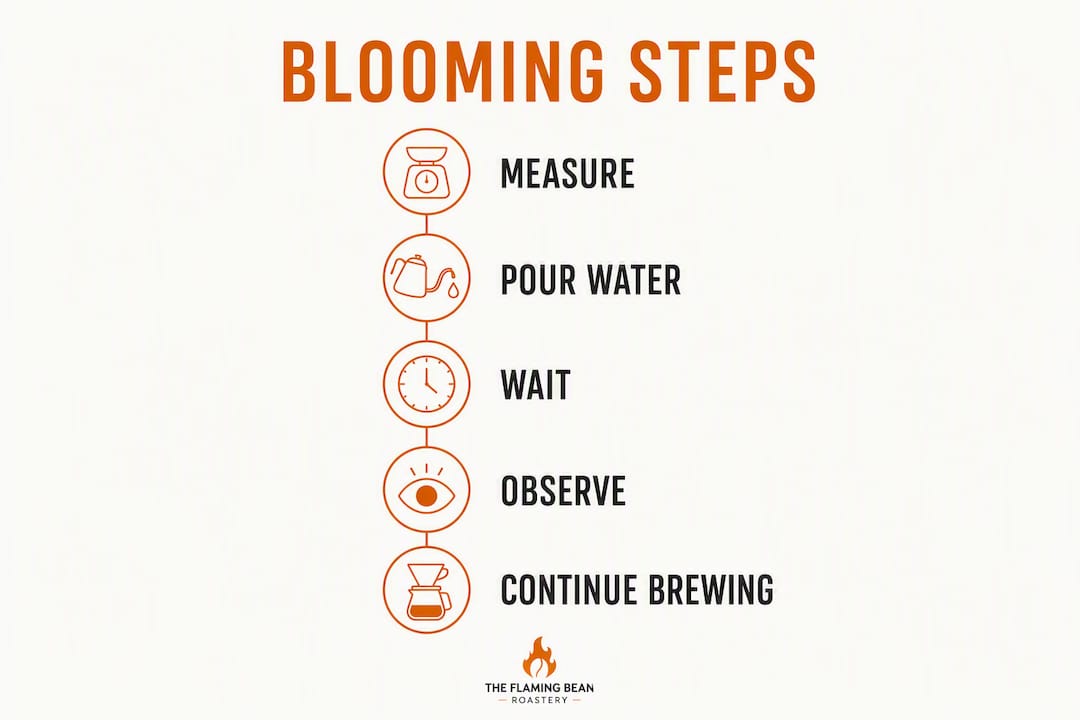
- Wait the full 30–45 seconds. Don’t rush it. When bubbling slows and the bed starts to settle, you’re ready.
- Begin your main pour. Continue with your normal pour-over technique, adding water in controlled stages.
| Coffee dose | Bloom water (approximately doubles to triples coffee weight) | Bloom time |
|---|---|---|
| Typical home coffee doses | Bloom water roughly 2 to 3 times coffee weight | About half a minute to three quarters of a minute |
Roast-level adjustments: Light roasts retain more CO₂ and denser cell structure, often benefiting from longer bloom times. Dark roasts degas faster, so a shorter bloom can help prevent early bitterness. Medium roasts generally require moderate bloom durations.
How to adapt the bloom for other brewing methods
Pour-over is where the bloom has the biggest impact, but the principle applies elsewhere too.
AeroPress benefits from a short bloom. Add your bloom water, wait 20–30 seconds, then continue with the rest of your water. The chamber limits how much you can observe visually, but the degassing still improves extraction clarity.
French press works differently since the grounds stay fully immersed, but a pre-wet still helps. Pour enough water to saturate the grounds, stir gently once, wait 30 seconds, then add the remaining water. Immersion methods are less dependent on the bloom than filter methods, but fresh beans still benefit from that initial degassing window.
Cold brew doesn’t require a bloom at all. The long steep time and cold water handle extraction differently, and CO₂ release isn’t a factor at low temperatures.
Espresso has an analog called pre-infusion, where low pressure saturates the puck before full pressure engages. It operates on similar principles but is controlled by the machine rather than your pour technique.
How to diagnose and fix common bloom problems
Weak or no bubbling: Your beans are likely older than 4 weeks, or they were stored in an unsealed container. Try fresher beans. If you’re stuck with older coffee, increase bloom water slightly and extend the pause to 45 seconds, though the improvement will be modest.
Bloom drains through too fast: Grind is too coarse, or you used too little bloom water. Go one step finer on your grinder and use the full 3× ratio next time.
Dry patches after pouring: Pour pattern is off. Start at the center and spiral outward slowly. One gentle swirl after pouring fixes most dry spots without disrupting the bed.
Excessive bubbling that collapses quickly: Very fresh beans, which is a good thing. Give them the full 45 seconds, or up to 55 seconds for dense light roasts.
Sour or hollow-tasting cup despite blooming: Check water temperature first. Below 195°F, CO₂ doesn’t release efficiently and extraction suffers. Also check grind size: too coarse leads to under-extraction even with a good bloom.
- Weak bloom → check roast date, try fresher beans
- Fast drainage → grind finer, use 3× bloom water
- Dry patches → adjust pour spiral, one gentle swirl
- Sour cup → verify water temp is 195°F–205°F, check grind
How to use the bloom as a freshness test at home
The bloom is one of the most reliable freshness checks you have. Fresh beans within 2–4 weeks of roast show a strong dome and active bubbling. Beans past that window bloom weakly or not at all.
Quick freshness test procedure:
- Use your standard dose (15–20 g) and grind fresh.
- Heat water to 200°F (93°C).
- Pour exactly 2× the coffee weight in water over the grounds.
- Start your timer and observe for 30 seconds.
- Note the dome height, bubble activity, and how long bubbling stays active.
- Strong dome, active bubbles for 20+ seconds: beans are fresh, within 2–3 weeks of roast.
- Mild dome, bubbles settle quickly: beans are 3–5 weeks old; still usable, adjust expectations slightly.
- Flat or no dome, minimal bubbling: beans are stale. Increase bloom water to 3× and extend to 45 seconds, but consider buying fresher beans soon.
Flat-bloom beans aren’t ruined, but they won’t give you the full flavor extraction a fresh bag delivers. The bloom test takes under a minute and tells you exactly where your beans stand.
Quick-reference bloom chart
| Scenario | Bloom water | Water temp | Bloom time |
|---|---|---|---|
| Standard (any roast) | 2–3× coffee weight | 195°F–205°F (90°C–96°C) | 30–45 seconds |
| Light roast / dense beans | 3× coffee weight | 200°F–205°F (93°C–96°C) | 45–55 seconds |
| Dark roast | 2× coffee weight | 195°F–200°F (90°C–93°C) | 30–45 seconds |
Common home doses at a glance:
- 15 g coffee: 30 g bloom water (standard) or 45 g (light roast)
- 18 g coffee: 36 g bloom water (standard) or 54 g (light roast)
- 20 g coffee: 40 g bloom water (standard) or 60 g (light roast)
Key Takeaways
Blooming coffee grounds correctly requires water at 195°F–205°F, bloom water equal to 2–3× the coffee weight, and a 30–45 second pause to degas CO₂ and wet the bed evenly before the main pour.
| Point | Details |
|---|---|
| Water temperature | Keep it between 195°F–205°F (90°C–96°C) to trigger effective CO₂ release. |
| Bloom water ratio | Use 2–3× the coffee weight in water; 15 g coffee needs 30–45 g bloom water. |
| Timing by roast | Standard: 30–45 seconds; light roast: up to 55 seconds; dark roast: 30–45 seconds. |
| Freshness check | Active bubbling and a visible dome mean beans are within the 2–4 week freshness window. |
| The Flaming Bean | Fresh-roasted beans like Safe Ground give you the active bloom and full extraction this technique is designed for. |
Why the bloom is really about what’s in the bag
Here’s something most bloom guides skip: the technique only works as well as the beans allow it to. You can nail the spiral pour, hit 200°F exactly, and time 40 seconds to the second, but if your beans are six weeks off roast and sitting in an open bag, the bloom will be flat and the cup will follow.
At The Flaming Bean, we train our team to treat the roast date as part of the recipe, not a footnote. A correct bloom is the first step in a chain that starts with how the bean was roasted and stored. Dense, well-developed beans hold CO₂ longer, bloom more actively, and extract more evenly. That’s why we pay attention to origin, roast development, and packaging, because the brewer’s technique and the bean’s quality are inseparable.
The bloom also gives you honest feedback every single morning. If your bloom is getting weaker week over week from the same bag, that’s the beans telling you they’re past their peak. Listen to it. Adjust your expectations, or better yet, grab a fresh bag.
Fresh beans make the bloom work harder for you
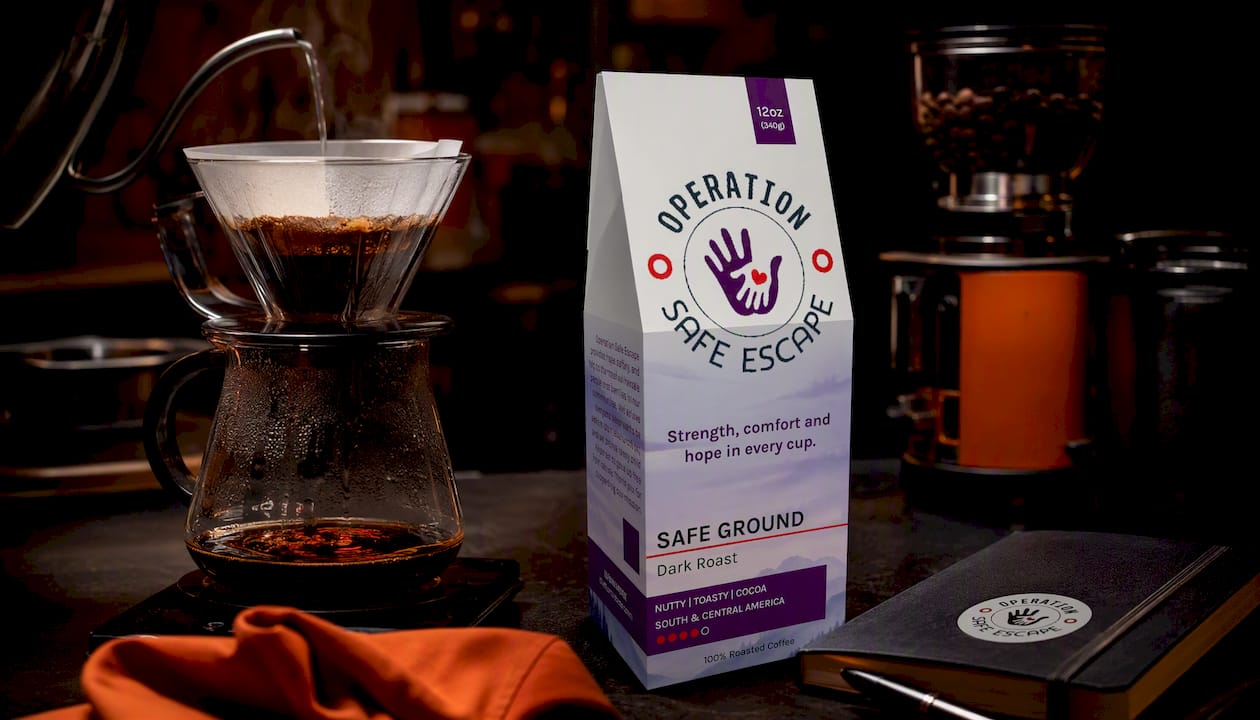
All the technique in the world won’t fix stale beans. If you want to see the bloom working the way it should, with a strong dome, active bubbling, and a cup that actually tastes like what you paid for, you need beans that are fresh off the roast.
The Flaming Bean’s Safe Ground roast is a great place to start. It’s a purposefully crafted blend roasted to order, which means you’re getting beans that still have plenty of CO₂ to release and plenty of flavor to extract. Safe Ground also supports organizations working to protect vulnerable communities, so every bag does a little more than just taste good.
Pick up a bag as a one-time purchase or set up a subscription so you’re never brewing with a stale bag again. Fresh beans, a good bloom, and a better cup — that’s the whole idea.
Recommended
- How Soil Shapes Coffee Flavor: A Grower’s Guide – The Flaming Bean Roastery
- Brew Better Coffee at Home: A Practical Guide – The Flaming Bean Roastery
- What Does Bold Coffee Mean? Flavor and Brewing Guide – The Flaming Bean Roastery
- Bold Coffee Blends: 9 Examples Worth Brewing – The Flaming Bean Roastery
Comments