
The Best Moka Pot Espresso Ratio for a Rich, Balanced Cup

The moka pot espresso ratio that works best for most home setups is 1:7 to 1:10 by weight, coffee to water. The stronger end (1:7 to 1:8) gives you a syrupy, bold shot built for milk drinks. The lighter end (1:9 to 1:10) pulls out more origin character, closer to what you’d get from a pour-over than a straight shot.
For a 3-cup pot, start with a moderate amount of coffee and fill water just below the safety valve, yielding roughly 130 to 150 ml of finished coffee. For a 6-cup pot, use a proportional amount of coffee and water for about 260 to 280 ml of yield, always filling water below the safety valve. Two rules matter more than the exact number: fill the water chamber to just below the safety valve, and level the coffee basket without pressing it down.
- 1:7 to 1:8 ratio: bold, concentrated, built for milk
- 1:9 to 1:10 ratio: lighter, more origin-forward
- Water fills to just below the safety valve every time
- Basket gets leveled, never tamped
The Wikipedia entry on moka pots notes these devices brew at roughly 1 to 2 bars of pressure, a fraction of the 9 bars an espresso machine generates, which is why ratio and grind do so much of the flavor work here.
Key Takeaways
A moka pot ratio of 1:7 to 1:10 by weight, paired with a level basket and water filled to the valve, produces a consistently balanced cup every time.
Table of Contents
- What Is the Right Moka Pot Coffee Ratio by Pot Size?
- How Should You Measure, Grind, and Pack the Basket?
- How Do You Brew Moka Pot Coffee Step by Step?
- Why Is My Moka Pot Coffee Bitter, Weak, or Slow?
- What Roast Works Best With Which Moka Ratio?
- Why Gram-First Recipes Beat Guesswork Every Time
- Get the Right Beans for Your Moka Pot Setup
- Sources
What Is the Right Moka Pot Coffee Ratio by Pot Size?
Moka pots are sized in “cups,” but a moka cup isn’t a coffee mug. It’s closer to a small Italian espresso cup, somewhere around 50 to 60 ml, according to Wikipedia’s breakdown of moka pot sizing. That’s why a “6-cup” moka pot doesn’t fill six regular mugs. It fills roughly one generous mug, or two small espresso-style servings.
The table below reflects widely used starting doses, cross-referenced against per-size gram charts from Coffeenatics and Wikipedia’s documented dose ranges.
No kitchen scale? A rough fallback is about 2 level tablespoons of ground coffee per 15 grams, though grind size changes that volume enough that gram-based conversion tools are worth using if you brew moka coffee often.
A few things to keep in mind before you treat any chart as gospel:
- Basket depth varies by manufacturer, so a “6-cup” pot from one brand might hold slightly more or less than another.
- Water measured to the valve line is the real constant. Grams of coffee should flex around that fixed volume, not the other way around.
- Treat every number here as a starting point. Small adjustments of 1 to 2 grams per brew are normal once you know your palate.
How Should You Measure, Grind, and Pack the Basket?
Weighing coffee in grams removes the guesswork that spoons introduce, since roast level and grind size change how much a tablespoon actually holds. Measuring water by volume and coffee by weight is the combination that produces the most repeatable cup.
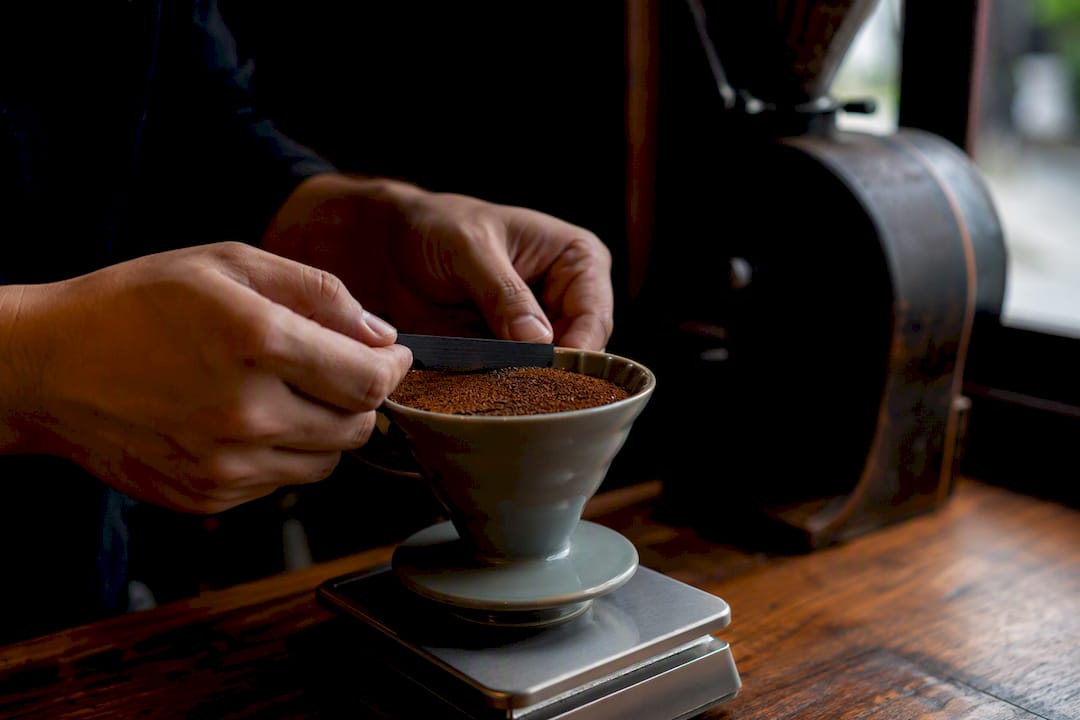
Grind matters just as much as dose. You want medium-fine, coarser than what you’d load into an espresso machine but finer than standard drip grind. Espresso-fine grounds pack too tightly in a moka basket, which can choke the flow or push water through unevenly, pulling out bitter, over-extracted compounds. A grinder with reliable micro-adjustment, like the Mazzer Mini G, makes dialing in that middle ground far easier than a blade grinder ever will.
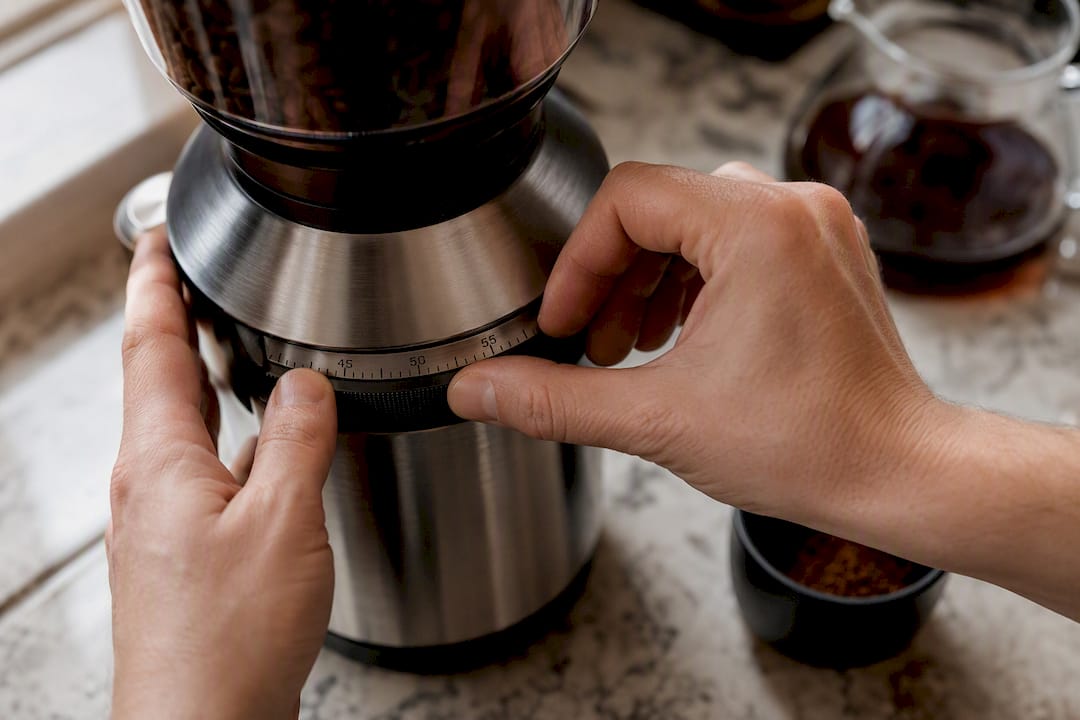
Fill the basket level with the rim, then run a finger or the back of a spoon across the top instead of pressing down.
Pro Tip: Never tamp a moka basket. Tamping adds resistance the low pressure of a moka pot can’t push through cleanly, which risks a clogged filter and unnecessary strain on the safety valve.
Wipe the rubber gasket and check the threads before every brew. Grounds stuck on the rim are the most common reason a moka pot leaks mid-brew.
How Do You Brew Moka Pot Coffee Step by Step?
Brewing technique separates a syrupy, balanced cup from a burnt, bitter one, and the process is more forgiving than espresso but less forgiving than drip.
- Choose your water start. Preheating water in a kettle and pouring it into the base (below the valve line) shortens the metal’s time on heat and reduces the risk of a cooked, metallic flavor. Cold-filling straight from the tap is simpler and still works fine if you control heat carefully.
- Assemble and set the burner to low to medium heat. High heat rushes extraction and is the single biggest cause of bitter moka coffee.
- Leave the lid open if your pot allows it, so you can watch the flow.
- Listen for the shift. Coffee starts as a steady golden stream, then turns lighter and starts to sputter or gurgle as the water runs out.
- Pull it off the heat right at that sputter. Waiting past that point pulls in steam and bitter compounds from the very last of the water.
- Run the base under cool water for a few seconds to stop the brew from finishing over residual heat.
- Serve straight, diluted into an Americano-style cup, or poured over milk. For milk drinks, lean toward the 1:7 to 1:8 ratio so the coffee holds up against the dairy instead of getting lost in it.
Why Is My Moka Pot Coffee Bitter, Weak, or Slow?
Most moka pot problems trace back to one of three things: heat, grind, or dose, and each has a fast fix.
- Bitter or metallic taste: Usually means the burner ran too hot, the grind was too fine, or the basket got tamped. Drop the heat one notch, coarsen the grind slightly, and never press the grounds down.
- Watery or weak cup: Almost always under-dosed coffee or an overfilled water chamber. Add a gram or two of coffee and confirm water sits right at the valve line, not above it.
- Slow or blocked flow: Often stuck grounds in the funnel or a dirty gasket. Clean both, and check that the grind isn’t too fine for your basket. Never adjust or bypass the safety valve itself. It’s there to vent pressure safely, and tampering with it turns a $40 pot into a real hazard.
What Roast Works Best With Which Moka Ratio?
Tony, editorial lead at The Flaming Bean, has spent enough mornings with a moka pot on the stove to know that roast choice changes how forgiving a ratio feels. A washed-out ratio on the wrong bean tastes thin; the right pairing makes even a modest 1:9 taste full.
The moka pot rewards roasts with body. A ratio that tastes perfect with one bean can taste flat with another, because moka brewing concentrates whatever character the roast already has.
For the bolder 1:7 to 1:8 range built for milk drinks, Evening Roast holds its own with its darker, fuller profile. For the more balanced 1:9 to 1:10 range, Safe Ground brings a steadier, more rounded cup that doesn’t disappear at the lighter end. Both roasts are built to handle the concentrated extraction a moka pot produces, which you can read more about in our breakdown of coffee extraction.
Why Gram-First Recipes Beat Guesswork Every Time
The conventional advice you’ll find scattered across coffee forums treats moka ratios like a fixed formula, as if 1:8 works identically across every pot, bean, and stove. It doesn’t. Basket depth varies by brand, roast density varies by bean, and burner heat varies by kitchen. What actually works is starting from a gram-based range and adjusting in small steps, not chasing a single “correct” number.
The mistake most home brewers make isn’t picking the wrong ratio. It’s changing three variables at once: grind, dose, and heat, then having no idea which one fixed or broke the cup. Change one variable per brew. If it’s bitter, drop the heat first before touching the grinder. If it’s weak, add a gram of coffee before assuming your beans are stale.
Prioritize a scale over spoons, and prioritize repeatability over chasing an espresso machine’s pressure you’ll never get from a stovetop pot anyway. That’s where the real consistency comes from.
— Tony
Get the Right Beans for Your Moka Pot Setup
A ratio chart only gets you halfway there. The other half is starting with a roast built to hold up under moka’s concentrated brewing pressure instead of turning flat or one-note. That’s where The Flaming Bean comes in: every bag is roasted with body and structure in mind, so the numbers in this guide actually translate into a cup worth drinking.
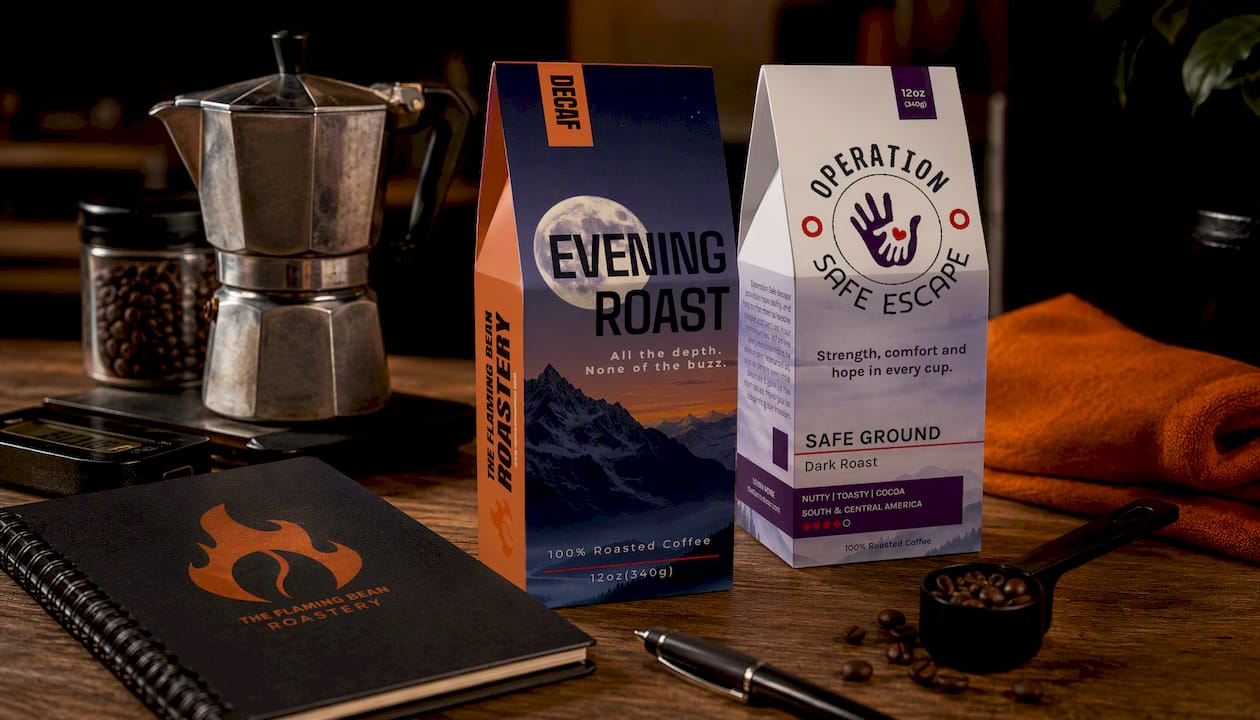
If you’re brewing bold, milk-based moka drinks, Evening Roast is the better starting point. If you want something more balanced for a lighter 1:9 ratio, Safe Ground delivers a rounder cup, and a portion of every bag supports the causes behind that blend. Order a bag of either one today and dial in your next brew with beans that were roasted for exactly this kind of cup.
Sources
- Moka pot — Wikipedia
- Moka pot ratio by size (coffeenatics)
- Moka Pot Coffee Ratio Calculator — CoffeeBumper
Recommended
- The Best Moka Pot Coffee Beans for a Rich, Bold Cup – The Flaming Bean Roastery
- Coffee Extraction Explained for Home Baristas – The Flaming Bean Roastery
- Make Cafe Quality Coffee at Home: A Barista Guide – The Flaming Bean Roastery
- Bold Coffee Blends: 9 Examples Worth Brewing – The Flaming Bean Roastery
Comments