
Cupping Coffee Explained: A Beginner's Guide

Coffee cupping is a standardized sensory method where coarse grounds steep directly in hot water, no filter, no brewing device, so tasters evaluate the coffee itself. It’s the industry’s most reliable tool for objective quality assessment, and you can run one at home with a scale, a grinder, and a few bowls.
Here’s what you’ll get from this guide:
- A clear definition of cupping and its purpose
- Who uses it and why it matters across the supply chain
- A full equipment list for home or lab setups
- A timed, SCA-style step-by-step protocol
- What attributes to evaluate and how to describe them
- Common mistakes and how to fix them
- How The Flaming Bean uses cupping in roastery practice
Ready to try it today? Grab two coffees, a kitchen scale, and keep reading.
Table of Contents
- What is cupping coffee and why does it matter?
- Who runs cuppings, and what does a session look like?
- What supplies do you need for a home or lab cupping?
- How to cup coffee step by step (SCA-style protocol)
- What should you look for when cupping?
- Common cupping mistakes and how to fix them
- SCA protocol highlights and basic scoring
- How The Flaming Bean uses cupping in roastery practice
- Key Takeaways
- What new cuppers usually get wrong (and what actually helps)
- Ready to try cupping? Start with The Flaming Bean
- Useful sources and further reading
What is cupping coffee and why does it matter?
Cupping removes brewing variables like filter type, water flow, and equipment mechanics so the only thing you’re tasting is the coffee. Every sample gets the same treatment: the same ratio, the same water temperature, the same steep time. That consistency is the whole point.
Without a level playing field, comparing two coffees is like judging two runners on different tracks. A French press might flatter a heavy-bodied bean while a pour-over highlights a delicate floral one. Cupping strips that away.
Roasters use it for roast development, green coffee buyers use it to decide which lots to purchase, quality control teams use it to catch batch inconsistencies, and baristas use it to train their palates. It’s the common language of the specialty coffee supply chain.
Pro Tip: Keep your ratio, grind size, and water temperature identical across every sample. Repeatability is what makes comparisons meaningful.
Who runs cuppings, and what does a session look like?
Cupping is used at every stage of the supply chain, from origin producers and importers to roasters, Q-graders, and home enthusiasts. You don’t need a certification to run one.
Common participants include:
- Green coffee buyers evaluating lots before purchase
- Roasters checking roast development and batch consistency
- Q-graders scoring coffees against formal standards
- Baristas building sensory vocabulary and palate awareness
- Home roasters and enthusiasts exploring flavor differences between origins or roast levels
- Competition judges at events like those sanctioned by the US Coffee Championships
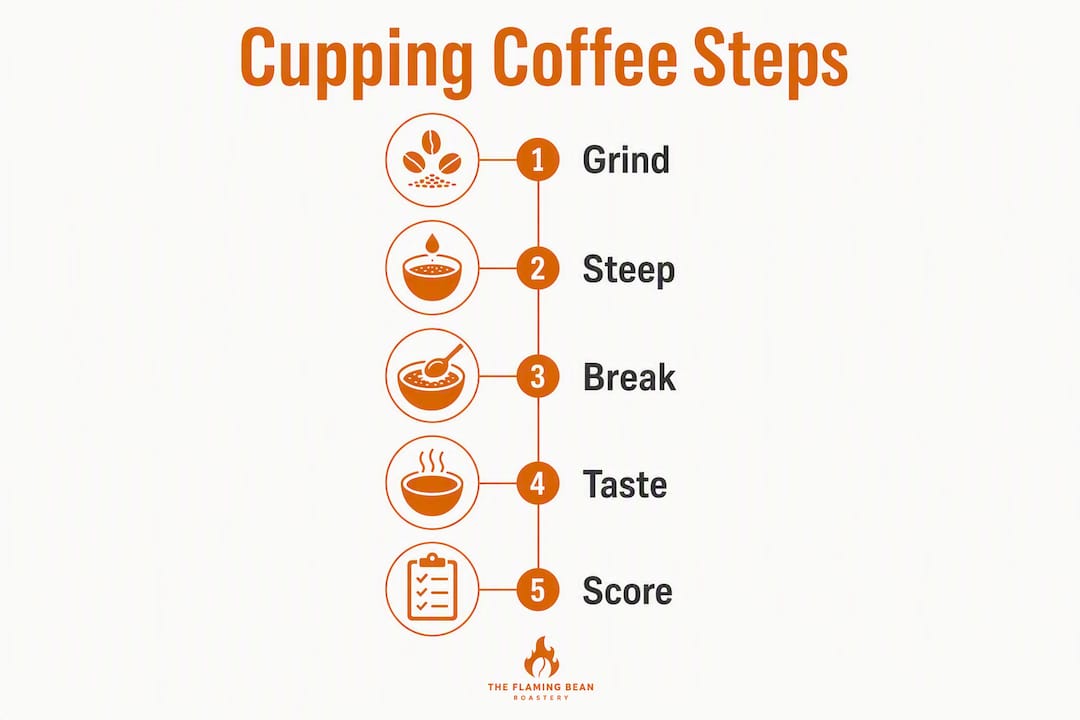
A typical session runs like this:
- Set up 3–6 coffees on the table, each with two identical cups
- Evaluate dry fragrance before adding water
- Pour hot water simultaneously across all samples
- Steep for 4 minutes, then break the crust on each cup
- Taste each coffee in sequence, rinsing your spoon between cups
- Repeat tastings as the coffee cools, noting how flavors shift
Professional sessions usually last at least 15–20 minutes from the first pour to the final cool-stage tasting. Budget more time if you’re scoring carefully or running several samples.
What supplies do you need for a home or lab cupping?
You don’t need much. The basics are genuinely basic.
Essential items:
- Kitchen scale (accurate to 0.1 g)
- Burr grinder set to a coarse grind
- Gooseneck or standard kettle with temperature control
- Cupping bowls or wide-mouthed mugs (6–8 oz capacity works well)
- Cupping spoons (deep-bowled, or use large soup spoons)
- Timer
- Rinse cups with clean water for spoon rinsing
- Waste vessel for spitting or discarding liquid
Helpful but optional:
- Digital thermometer to confirm water temperature
- Sample labels or sticky notes for each cup
- A printed tasting sheet or notebook
- Refractometer for measuring extraction (more useful in a lab setting)
Where to invest: a good burr grinder matters more than specialty cupping bowls. Uneven grind size creates inconsistent extraction and muddies your results. Where you can save: any wide, heatproof bowl works fine as a cupping vessel.
Pro Tip: Before grinding your first sample, run 2 g of that coffee through the grinder and discard it. This purges residual grounds from your previous session and keeps samples clean.
How to cup coffee step by step (SCA-style protocol)
SCA-style cupping uses about 8.25 g of coffee per 150 ml of water, roughly 55 g per liter, which is stronger than most home brews. That concentration amplifies flavor differences so comparisons are clearer.
Follow these steps in order:
- Weigh and label your samples. Prepare two identical cups per coffee as a built-in quality check.
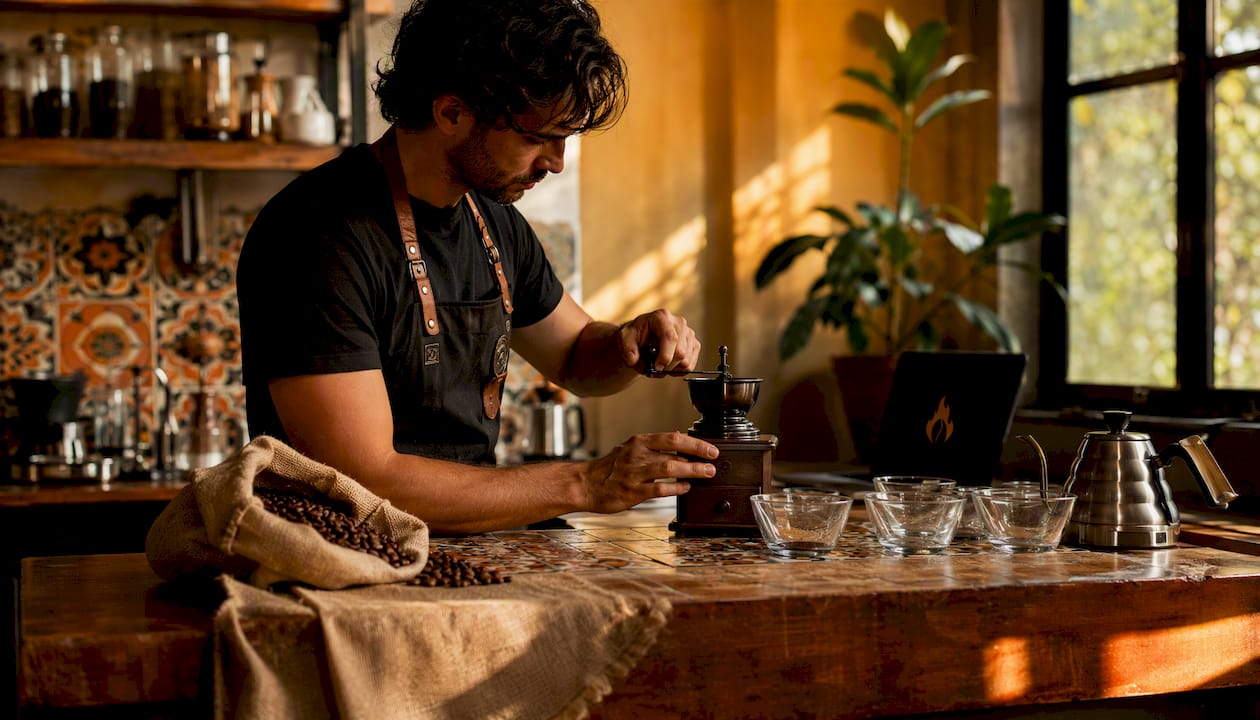
- Grind coarsely just before cupping. Purge the grinder with 2 g of the next sample before grinding each one.
- Evaluate dry fragrance. Sniff each cup before adding water and note what you detect.
- Heat water to approximately 200°F (just off a full boil). Pour simultaneously across all cups, saturating all grounds.
- Steep for 4 minutes. Don’t touch the cups.
- Break the crust. Push the floating grounds to the back of each cup with your spoon and sniff the released aroma. This is the wet aroma stage.
- Clean the surface. Use two spoons to skim off remaining foam and grounds.
- Wait. Don’t begin serious tasting until the cup reaches roughly 140°F–160°F. Tasting scalding coffee masks sweetness and distorts acidity.
- Slurp. Use the spoon to draw coffee across your entire palate. The aeration spreads flavor across your tongue.
- Taste in stages as the cup cools. Acidity, sweetness, and defects all shift with temperature. Tasting once and moving on misses half the profile.
- Record notes at each stage. Don’t wait until the end.
Pro Tip: Taste each coffee at multiple temperature stages, including hot, warm, and cool, to capture the range of flavor development. You’ll often find that a coffee you dismissed as flat at high heat opens up beautifully as it cools.
Different roast levels can call for small adjustments. Lighter roasts tend to show more acidity and fruit early; darker roasts reveal their character more clearly at cooler temperatures. If you’re comparing roast levels, keep everything else identical and let temperature do the work.
What should you look for when cupping?
The SCA cupping standards organize evaluation into specific attributes. Here’s what each one means in plain terms:
- Fragrance/Aroma: Dry fragrance before water; wet aroma after breaking the crust. Look for fruit, floral, nutty, spice, or earthy notes.
- Flavor: The overall taste impression in the mouth. This is where descriptors like chocolate, citrus, berry, or caramel live.
- Aftertaste: What lingers after you swallow or spit. A long, pleasant aftertaste is a quality signal.
- Acidity: The brightness or liveliness of the cup. Malic acidity (apple-like) reads differently from citric (lemon-like) or phosphoric (clean, sweet).
- Body: The weight and texture of the coffee in your mouth. Heavy and syrupy vs. light and tea-like.
- Balance: How well the attributes work together. A coffee can score well individually but feel disjointed.
- Sweetness: Perceived sugar-like quality, not added sugar. Often more apparent as the cup cools.
- Uniformity: Whether both cups of the same sample taste the same. A difference between pair cups flags a roast or grind issue.
- Clean cup: Absence of off-flavors or defects from start to finish.
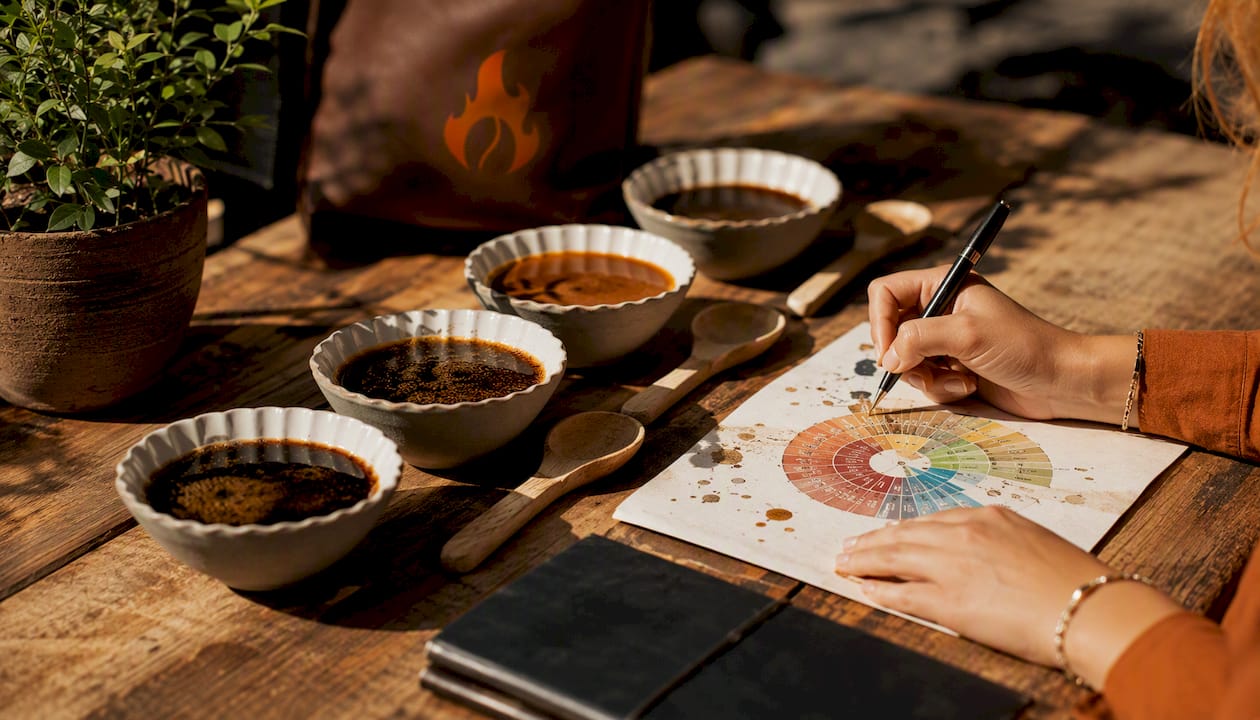
For descriptors, the coffee flavor wheel is your best reference. Common defects include ferment (vinegar-like), phenolic (medicinal or plastic), and musty or earthy notes that don’t belong to the origin’s character.
When you detect a defect, flag it on both cups. If only one cup shows it, that’s a uniformity issue. If both cups show it, it’s a roast or green coffee problem worth investigating.
Common cupping mistakes and how to fix them
Most errors in cupping produce misleading results rather than no results, which makes them harder to catch.
Frequent mistakes:
- Tasting too hot. Scalding coffee numbs your palate and hides sweetness. Wait for the cup to cool.
- Not rinsing the spoon. Residue from one sample carries into the next. Rinse in clean water between every cup.
- Inconsistent grind or weight. Even a 0.5 g difference per cup changes the ratio enough to skew comparisons. Weigh every sample.
- Skipping duplicate cups. Without two cups per sample, you have no way to know if an off-flavor is a defect or a one-time anomaly.
- Cross-contamination from the grinder. Leftover grounds from a previous sample will taint the next one. Always purge.
- Rushing the crust break. Breaking too early or too late changes the aroma evaluation. Stick to the 4-minute mark.
Quick troubleshooting checklist:
- If two cups of the same sample taste different: check grind consistency and weigh again
- If all samples taste flat: water temperature may be too low, or coffee is too fresh (degassing)
- If you’re detecting off-flavors across the board: check water quality and grinder cleanliness
- If you can’t distinguish samples: try a wider ratio or a finer grind, and taste at a cooler temperature
Pro Tip: If a cup shows a strong defect that seems out of place, set it aside rather than letting it bias your evaluation of the others. Re-run it separately after the session.
SCA protocol highlights and basic scoring
The Specialty Coffee Association defines cupping as a standardized sensory assessment built around three phases: fragrance evaluation, brewing (the pour and steep), and liquoring (the tasting). Those phases, combined with set ratios, water temperatures, and timed steps, make results repeatable and comparable across different tasters and locations.
Scoring in SCA-style cupping works on a 100-point scale. Coffees scoring 80 or above qualify as specialty grade. Scores in the mid-80s indicate a clean, well-developed coffee; scores above 90 are exceptional and relatively rare. Each attribute (fragrance, flavor, aftertaste, acidity, body, balance, sweetness, uniformity, clean cup) contributes to the final score.
Key mechanics roasters rely on:
- Scores guide buying decisions: a lot that scores 84 may be purchased; one that scores 76 gets passed.
- Repeated cuppings of the same roast batch catch drift over time, flagging when a roast profile needs adjustment.
- Scoring sheets create a paper trail so teams can track quality across seasons and origins.
Roasters who evaluate coffee quality systematically use cupping scores alongside roast logs to make informed adjustments, not guesses.
How The Flaming Bean uses cupping in roastery practice
At The Flaming Bean, cupping isn’t a one-time step before launch. It’s a recurring quality check woven into roast development and batch approval.
When developing a new roast profile, the team cups multiple roast iterations side by side. Small changes in development time or peak temperature show up clearly in the cup, and cupping makes those differences audible before a batch goes to customers.
Three blends that go through this process regularly:
- Evening Roast: Evaluated for smoothness, low acidity, and a clean, approachable finish. Cupping confirms the roast hits its intended character without harsh or bitter notes.
- Safe Ground: A purpose-driven blend where consistency matters as much as flavor. Cupping checks uniformity across batches so every bag supports the mission with the same quality.
- Abyssal: A bold, deep-profile coffee where body and aftertaste are the primary targets. Cupping at cool temperatures is especially useful here, since the heavy body and dark notes evolve significantly as the cup drops below 120°F.
Cupping is how we know a roast is ready, not just how we think it tastes. Two cups per sample, tasted at three temperature stages, tells us more in 20 minutes than any single brew method could.
Pro Tip: Keep a dedicated cupping notebook or spreadsheet with columns for date, roast batch, sample ID, and scores per attribute. After a few sessions, patterns emerge: you’ll see which attributes drift first when a roast profile shifts.
Key Takeaways
Coffee cupping is a standardized, filter-free sensory method that uses consistent ratios, timed steps, and staged tastings to evaluate coffee on its own terms, not on brewing technique.
| Point | Details |
|---|---|
| Core method | Steep coarse grounds in hot water at ~55 g/L, no filter, for a level comparison. |
| Timed protocol | Pour, steep 4 minutes, break the crust, then taste at multiple temperature stages down to cool. |
| Staged tasting matters | Sweetness, acidity, and defects shift with temperature; tasting once misses the full profile. |
| Avoid key mistakes | Always rinse your spoon, purge the grinder, and prepare two cups per sample. |
| The Flaming Bean | Evening Roast, Safe Ground, and Abyssal are all evaluated through cupping to confirm roast quality before release. |
What new cuppers usually get wrong (and what actually helps)
Most people walk into their first cupping expecting it to feel like wine tasting. It doesn’t. The slurping is loud, the spitting is awkward, and the first few cups taste like hot brown water with no obvious differences.
That’s normal. Palate training takes repetition, not talent.
The single most useful thing a new cupper can do is taste the same coffee twice: once hot, once cool. The gap between those two experiences is where your palate starts to develop. A coffee that tastes flat and bitter at 170°F often reveals caramel sweetness and clean acidity at 110°F. That contrast is the lesson.
Temperature is also where most beginners rush. Serious tasting starts around 140°F–160°F, not the moment the cup is poured. Waiting feels counterintuitive, but it’s the difference between a useful evaluation and a burned tongue with no useful data.
Write everything down, even if your notes feel vague at first. “Tastes like something fruity, maybe?” is a starting point. After ten sessions, you’ll have the vocabulary to say “bright malic acidity with a dried cherry finish.” The notes build the vocabulary.
Ready to try cupping? Start with The Flaming Bean
The easiest way to run your first cupping is to start with coffees that are clearly different from each other. The Flaming Bean’s signature blends give you exactly that. Evening Roast brings a smooth, low-acid profile ideal for spotting sweetness and body. Safe Ground offers a consistent, well-balanced cup that’s great for calibrating your baseline. Abyssal pushes into bold, heavy-body territory where aftertaste and depth are front and center.
Pick up two or three from the signature blends collection, prepare two cups of each, and run the protocol from this guide. You’ll have a real cupping session on your hands in under 30 minutes, with coffees roasted to a consistent standard so your comparisons stay clean.
Head to The Flaming Bean’s shop and grab your first cupping set today.
Useful sources and further reading
The sources below are worth bookmarking whether you’re running your first cupping or building a more formal QC process.
- Coffee Cupping — Wikipedia: A solid starting overview of cupping history, Q-graders, and the sensory mechanics behind the practice.
- SCA Cupping and Sensory Standards (CVA-102): The authoritative protocol document. Best for understanding the formal structure of scoring and sample prep.
- SCA Protocols and Best Practices: Covers temperature guidance and staged tasting rationale. Go here for the “why” behind the steps.
- Fellow — Step-By-Step Guide to Cupping Coffee: Clear, accessible walkthrough with good timing guidance. Best for home practice.
- JayArr Coffee — How to Cup Coffee at Home: Practical ratio guidance and home-friendly adaptations of the SCA protocol.
- Mill City Roasters — Cupping Professionally: Part One: Roastery-focused perspective on session structure and sample counts.
- SCAA Cupping Protocols (PDF): The foundational document for grinder purge technique and duplicate-cup practice.
The SCA protocol is the floor, not the ceiling. Once you understand the standard steps, you can adapt them for your setup, your roast levels, and your goals. Start strict, then adjust with intention.
| Source | Best for |
|---|---|
| SCA CVA-102 | Formal scoring standards and sample prep rules |
| SCA Protocols and Best Practices | Temperature guidance and staged tasting rationale |
| Fellow step-by-step guide | Home practice and timing walkthrough |
| JayArr Coffee home guide | Ratio guidance and accessible home adaptations |
| Mill City Roasters Part One | Roastery session structure and professional context |
Recommended
- Coffee Extraction Explained for Home Baristas – The Flaming Bean Roastery
- How to Choose the Right Coffee Roast for Your Cup – The Flaming Bean Roastery
- Coffee Roast Levels Explained: Your Flavor Guide – The Flaming Bean Roastery
- Why Some Coffee Tastes Chocolatey: A Flavor Guide – The Flaming Bean Roastery
Comments